Counter-Strike 2 offers players the opportunity to fine-tune their settings, allowing them to achieve a personalized and optimized gaming experience. In this guide, we will elucidate how to create a custom CFG, integrate it into the game, and establish an autoexec to automate your preferences. Therefore, we will delve into the realm of personalized settings, propelling ourselves in the pursuit of victory.
Creating Your CFG in Counter-Strike 2
Step 1: Creating Your CFG
Now, it's time to create your custom CFG. Use a simple text editor like Notepad or Notepad++ to define your preferences, such as mouse sensitivity, audio settings, and hotkeys. Here's an example:
Step 2: Saving the File
After defining your settings, save the file with the ".cfg" extension. Choose a descriptive name, for example, "my_settings.cfg."
How to Place Your CFG in CS2
Step 1 - Access the CS2 Folder
- First, open your Steam and access your library.
- Then, right-click on CSGO and go to "Properties."

- Now, click on "Installed Files" and then "Browse...".

- The file explorer will open, and you just need to navigate to the following path: game -> core -> cfg.

Step 2 - Place Your CFG
With the path opened, simply paste or move your CFG. In my case, I placed the file throw.cfg in the folder.
Step 3 - Running your CFG
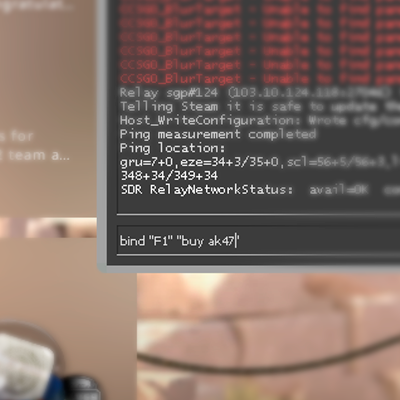
With the game open, simply open the console and enter the following command, replacing 'throw' with the name of your CFG:
Creating an Autoexec in CS2
Creating an autoexec CFG ensures that the game always executes it when started. This is necessary because 'alias' settings are not saved, requiring 'alias' commands to be executed again for binds to function correctly.
Furthermore, I already have a CFG configured to execute with the 'alias' for 'Jump throw'.
Step 1 - Setting up your autoexec
- Access the CS2 'Properties'

- Then, in the 'Launch Options' section, paste the following code, replacing the CFG name with yours:

Finally, now just start the game, and your CFG will always be executed.


